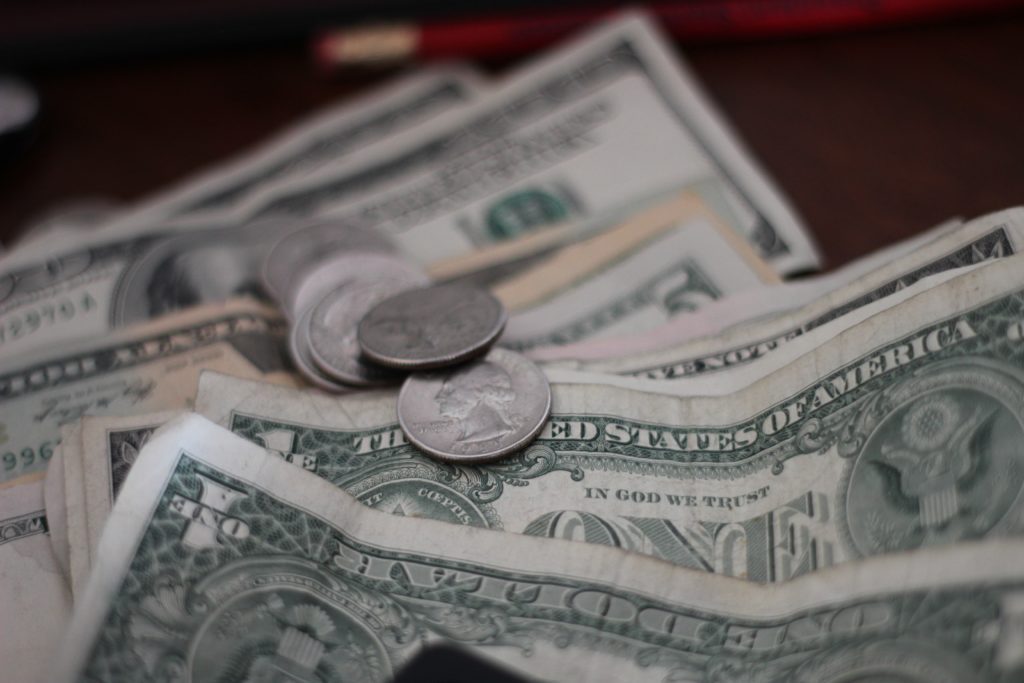
This neat article is all about how YOU can make your very own money saver box right at home. You can transform simple things you find around your house into a special box, where you can keep all your pennies, nickels, dimes, and quarters safe. It’s a fun and crafty project that not only helps you save money, but also sparks your creativity! Let’s go start our fun money-saving adventure together.

Understanding the Purpose of a Money Saver Box
A Money Saver Box is a fun and magical box that helps you save your money. Imagine a box where you can put all your spare coins and after some time, you have a bunch of money saved up. It’s pretty cool, right?
Importance of saving money
Saving money is like planting a seed. The seed might seem tiny and meaningless at first, but if you keep watering it, it grows into a big tree. Similarly, the coins you save might not seem like much, but over time, your savings can grow into a large amount. This can be helpful in many ways, like buying toys, books or for any unexpected expenses, like replacing a broken toy or buying a gift for your friend’s birthday.
Usefulness of a tangible saving method
Having a money saver box is like having a visual reminder. When you see your money saver box, it would remind you to save your coins or spare money. It will be a fun activity to put money in the box and watch it fill up.
Teaching children about money management
Learning about money when you’re a child can make you super smart about handling money when you grow up. A money saver box is a great way to learn about earning and saving money. It can teach you the value of money and how important it is to save and not waste it unnecessarily.
Materials Required for Making a Money Saver Box
Creating a money saver box is like an adventure. You can choose different materials that you like and make it special.
Choosing a box
The first thing you will need is a box. The box can be of any shape-round, square, rectangle or any other fun shape you like. It can be a box that once held your favorite toy or something that you found around the house.
Decorative supplies
Next, you will need supplies to make your box look pretty. These include color pencils, paint, stickers, glitter – anything that you think can make your box look bright and cheerful.
Tools needed
You will also need some tools. These could be anything from a small saw, a knife, or a pair of scissors. But remember, sharp tools can be dangerous and always needs to be handled carefully. It is always a good idea to have an adult around when using these tools.

Choosing a Suitable Box
Choosing a box can be lots of fun. Remember, your box reflects your personality.
Box materials: plastic, metal, or wood?
You can choose a box made from different materials. A plastic box is light and easy to carry around. A wooden box gives a cool, vintage look, and a metal can is sturdy and strong. But remember, the box you choose should be easy to cut and safe to handle.
Determining the appropriate size
The size of your box depends on how much money you plan to save. If you want to save a great deal of money, choose a bigger box. If you want to save less, you can choose a smaller box. But remember, the goal is to fill the box, no matter how big or small it is.
Factors to consider when selecting a box
When you’re choosing a box, think about where you’re going to keep it. It should fit nicely in that spot. The box should also be strong enough to hold coins. And remember, it should be a box you like, because you’re more likely to save money in a box that you find attractive.
Gathering Decoration Materials
Decorating your box is maybe the most exciting part.
Deciding on your design
You can make your box look however you want. You might want to paint it with your favorite colors, or put on stickers of your favorite cartoon characters.
Selecting color schemes
If you want to paint your box, choose colors that go well together. Ask an adult to help you choose the right color pattern.
Choosing stickers, glitter, or other adornments
Adding stickers, glitter or other decorations can make your box look shiny and special. But remember, don’t forget to leave space for the money slot.
Using the Right Tools
Tools for cutting a slot in the box
No matter what material your box is made of, you will need a tool to cut a slot in the top. This is where you will drop your coins. Depending on the box’s material, you may need a knife, a pair of scissors, or a small saw. Always have an adult help you with this part.
Safety considerations when handling sharp tools
Sharp tools can hurt you if not used properly. Always keep your fingers away from the sharp edge. Ask an adult to supervise you or help you with this step.
How to use different tools based on the material of the box
Different materials will require different tools. Plastic boxes might just require a pair of scissors, while a wooden box might require a saw. It might even be a good idea to mark where you want the money slot to be before you start cutting.
Designing and Decorating Your Money Saver Box
Now comes the fun part! Let’s make your box look pretty.
Mapping out your design
Draw or write your design on a piece of paper before you start. This will serve as a blueprint, making the actual decoration part easier and more fun.
Applying colors and decorations
Follow your plan and start decorating! Paint each section carefully and tastefully. Don’t forget, it’s okay to make mistakes. You can always paint over them, or turn blunders into part of the design!
Step by step decorating process
Decorating your box can be a lot of fun, so take your time. Start with applying the main colors, then add smaller details like stickers or glitter. All while allowing each layer to dry fully before moving on to the next.
Assembling the Money Saver Box
Your beautiful box is just a few steps away from being a magical money saver box.
Creating the money slot
You have decorated your box beautifully, now it’s time to create the slot for the money. Make sure the slot is big enough for coins or even bills to fit through. With an adult’s help, cut along the lines carefully.
Ensuring box is secure
Your box should be strong enough to keep the money safe. So, check all the sides of the box and the bottom to ensure they are well attached and secure.
Finishing touches before use
After your slot is ready, make any final touches to your decoration. When it’s all done, and the paint is dry, you’re ready to start saving money.
Using the Money Saver Box
Your money saver box is ready. Now all you need is to start saving.
Developing a regular saving routine
Try to make a routine of saving money. You could decide to put in a certain amount of money every day, every week, or perhaps every time you receive some. The important thing is to keep it regular.
Tips for staying committed to saving
Staying committed to saving can be tricky. But time and patience is the key to success. Keep reminding yourself of why you started saving. Perhaps there’s a special toy or gift you want to buy or make a big surprise!
When and how to empty the money saver box
When your box is full, it’s time to empty it out and count your savings! It’s best not to open the box every time you’re curious to know how much you’ve saved. It’s more exciting to open it when it’s full.
Teaching Kids About Money Using the Money Saver Box
Introducing the concept of saving
Your money saver box is a fun way to teach you about money. With every coin you put into the box, you will learn the importance of saving and how it can help you get things that you want.
Making saving fun with the money saver box
Saving money can feel like a super fun game with your money saver box. As you see your box filling up, you can imagine what you can buy or do with all the money.
Monitoring progress and providing positive reinforcement
Seeing how much money has been saved up overtime can give a sense of achievement. And being praised or rewarded for saving can make it more exciting and encourage you to save more.
Maintenance of the Money Saver Box
Cleaning the box
Keep your box clean so it’s always shiny and beautiful. Brush off any dust on the surface. If there’s a stain, you can clean it with a wet cloth, but make sure your box is completely dry before you put any money in it.
Fixing potential damages
If your box gets a crack, you can fix it with some glue. If the box is too damaged, you can always make a new one. After all, it’s another opportunity to have fun with decoration!
Long-term care and replacement of the box
With time, if the box is full or if it has become old and worn-out, you can decide to make a new one, and start your saving adventure once again!
The journey of creating a money saver box is not only fun but it also helps you understand the value of saving money. So let’s get started, create a beautiful box and become a super saver!

